How it works
From QR code to big screen in six simple steps
Here is what you, your client's guests and the venue screen see on the day.
- 1
Connect your storage (once)
Sign in and connect the storage account you already use. Every event gets its own folder, and guest photos are saved there at full quality.
- One-time setup for all your events
- Photos stay in storage you own
- No extra storage fees from us
- 2
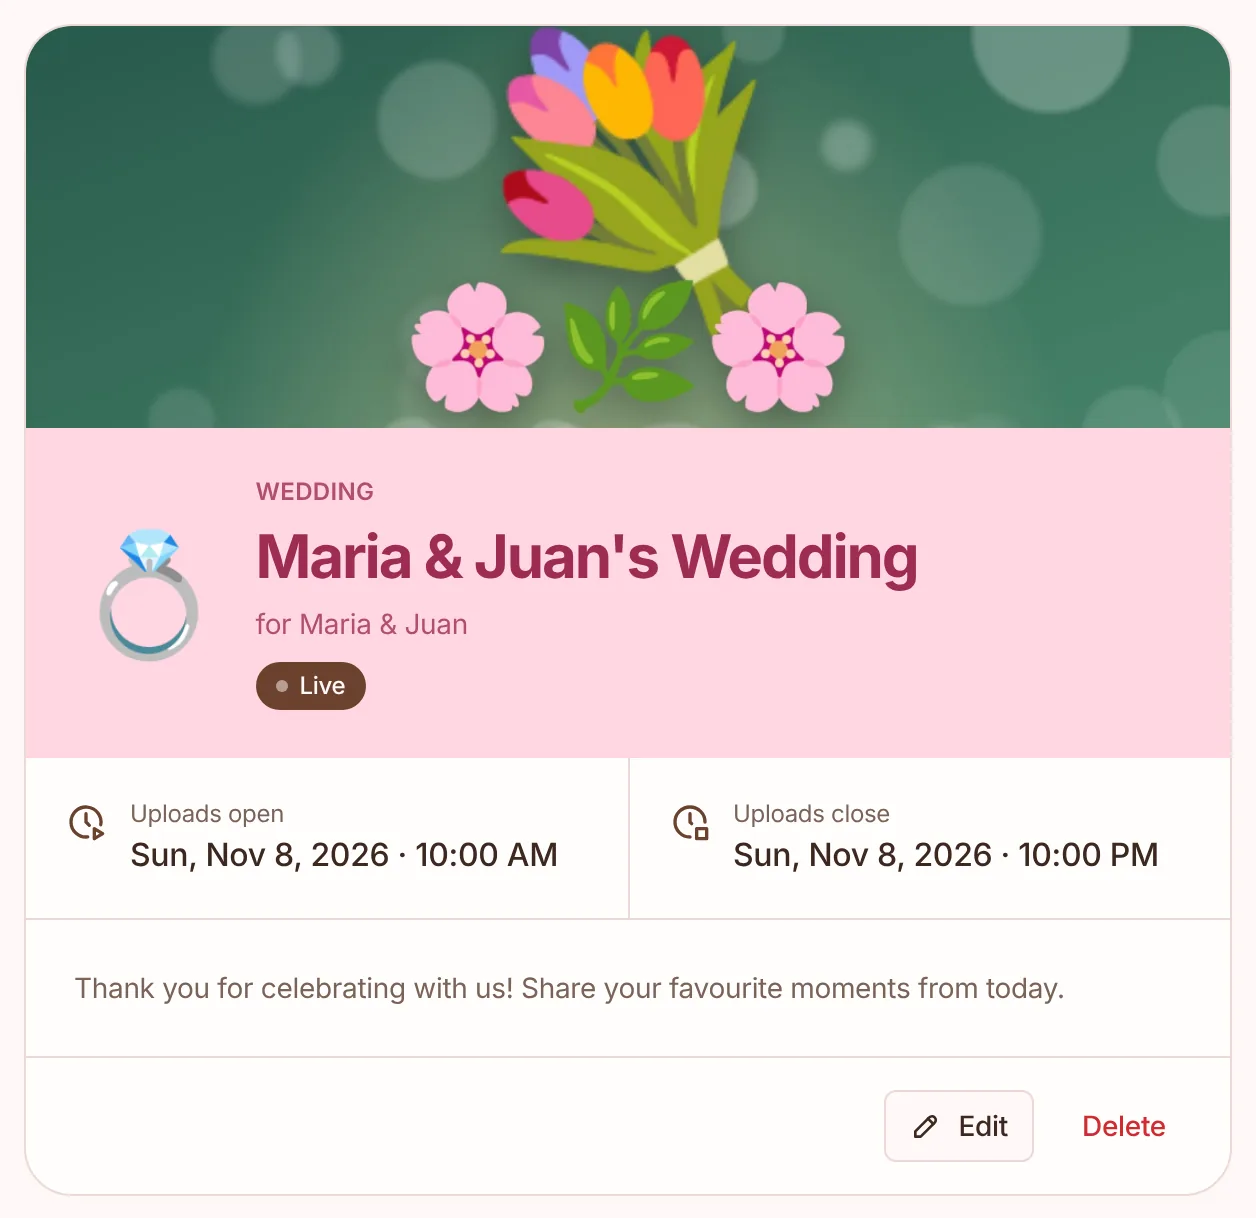
Set up your client's event
Pick the occasion, add your client's name, the event times and an optional banner. Guests can only upload while the event is running.
- Weddings, debuts, birthdays, conferences and more
- Upload window from start to end time
- Set how many photos each guest can share
- 3
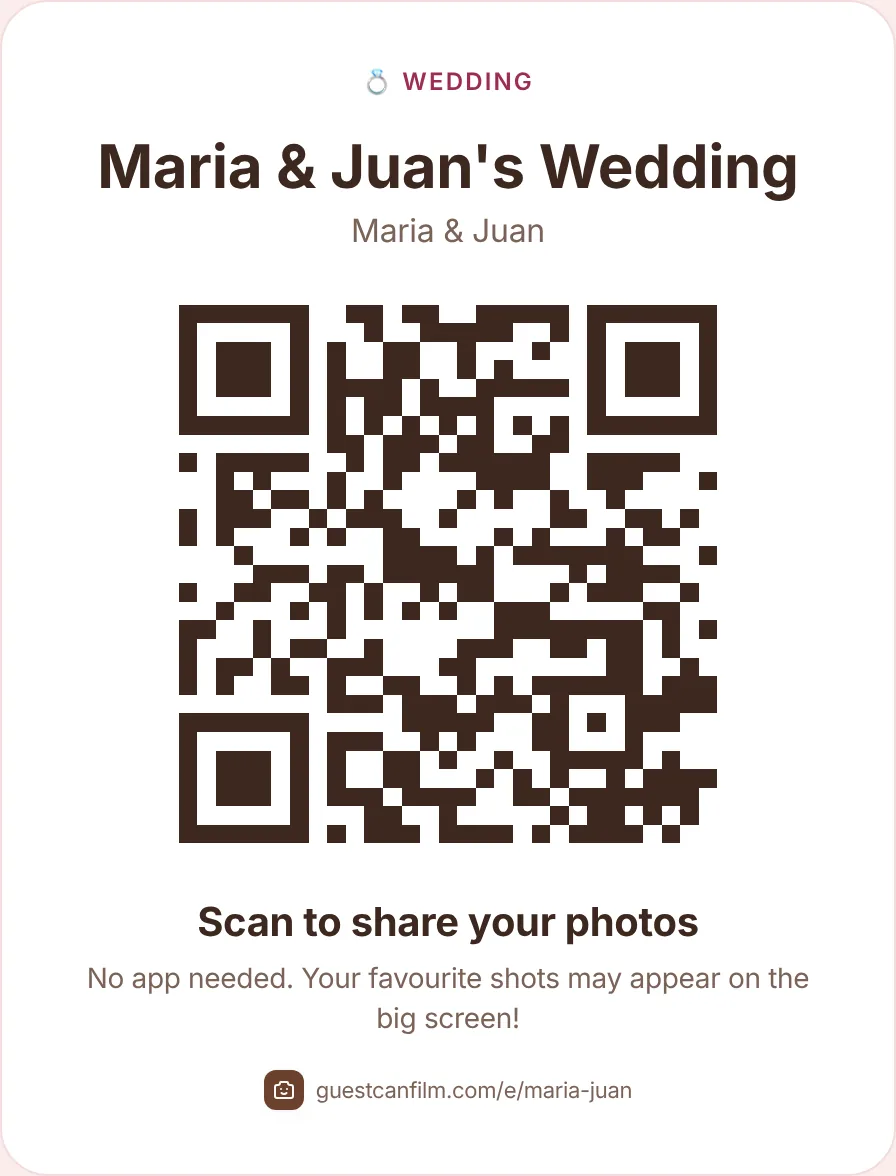
Print the QR code
Each event has its own QR code. Print a large table card or four per page, or download it as PNG or SVG for your own designs.
- Place them on tables, at the entrance and by the photo booth
- Guests scan with their normal camera app
- 4
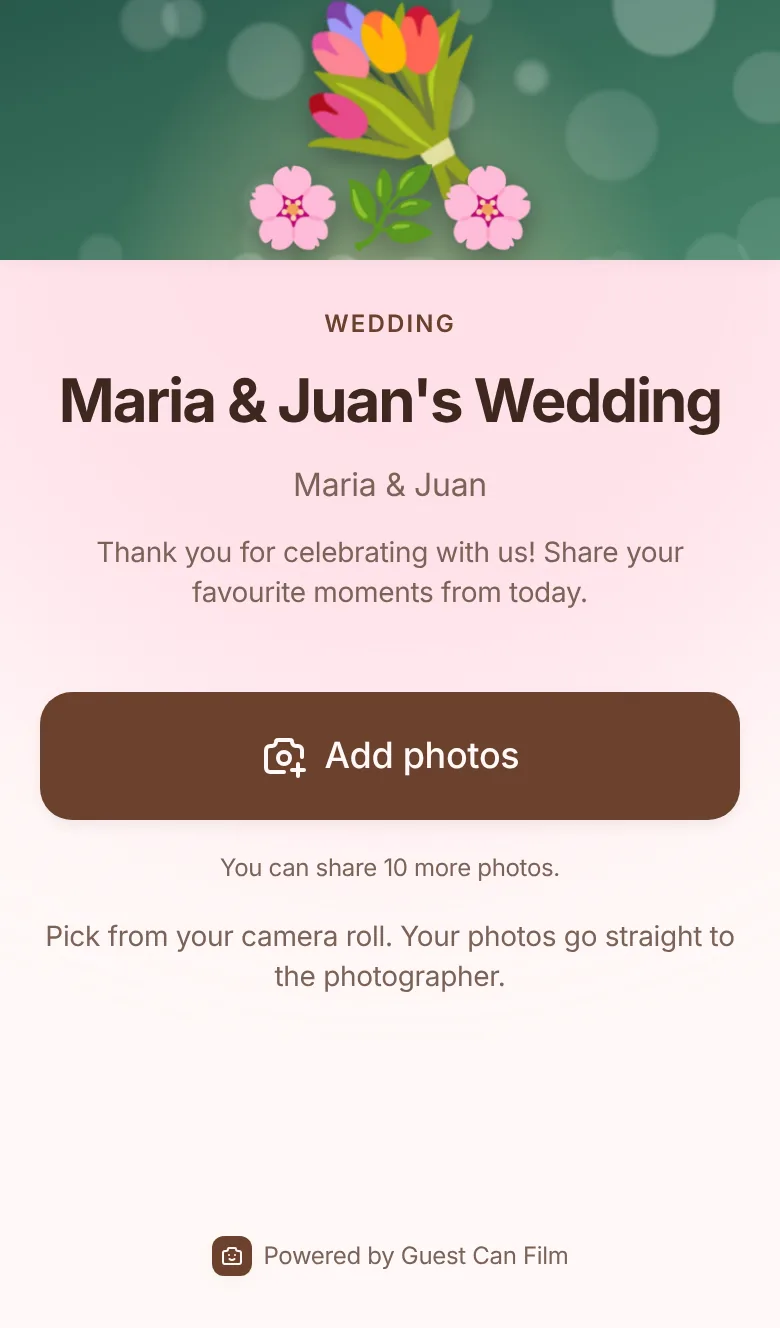
Guests scan and share
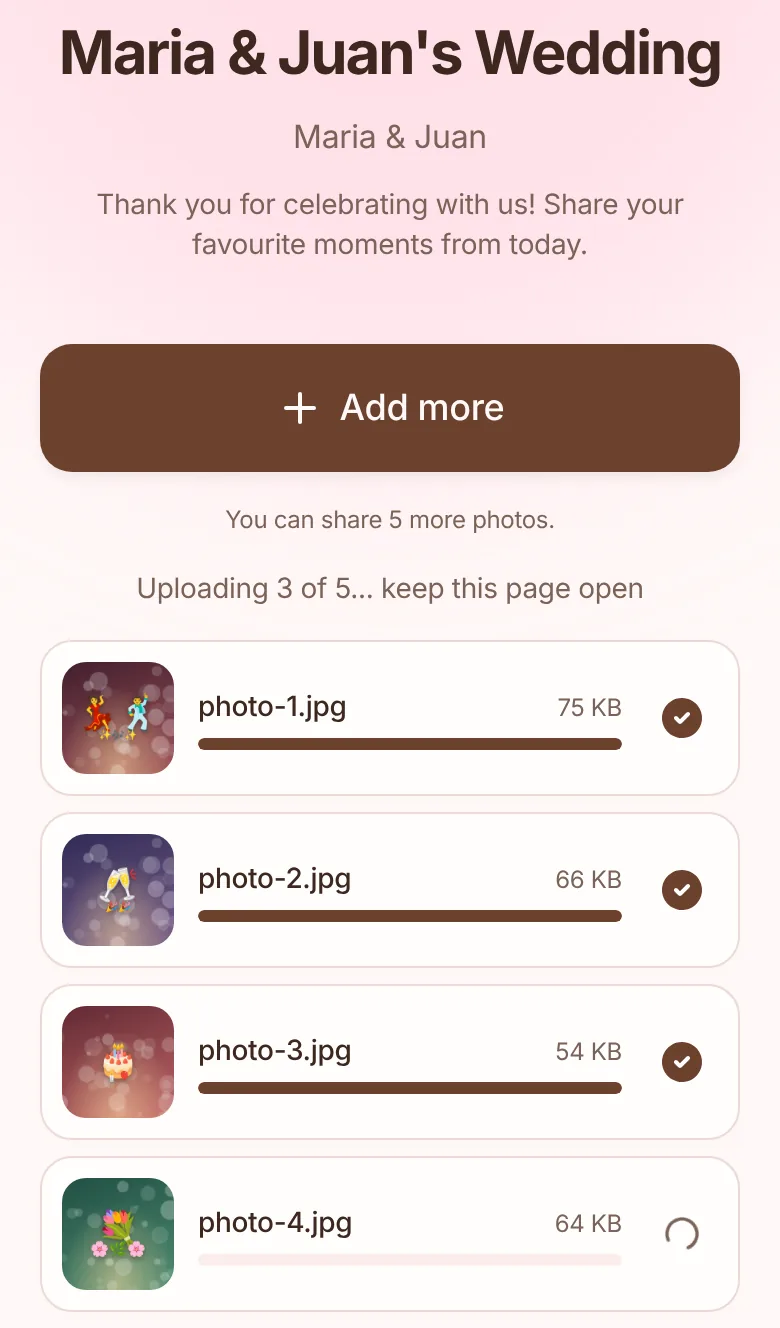
Guests open the event page in their browser, tap Add photos and pick from their camera roll. Uploads run in the background with a progress bar for each photo.
- No app to install and no account to create
- Large uploads resume if the signal drops
- Guests never see each other's photos
- 5
Approve the best shots
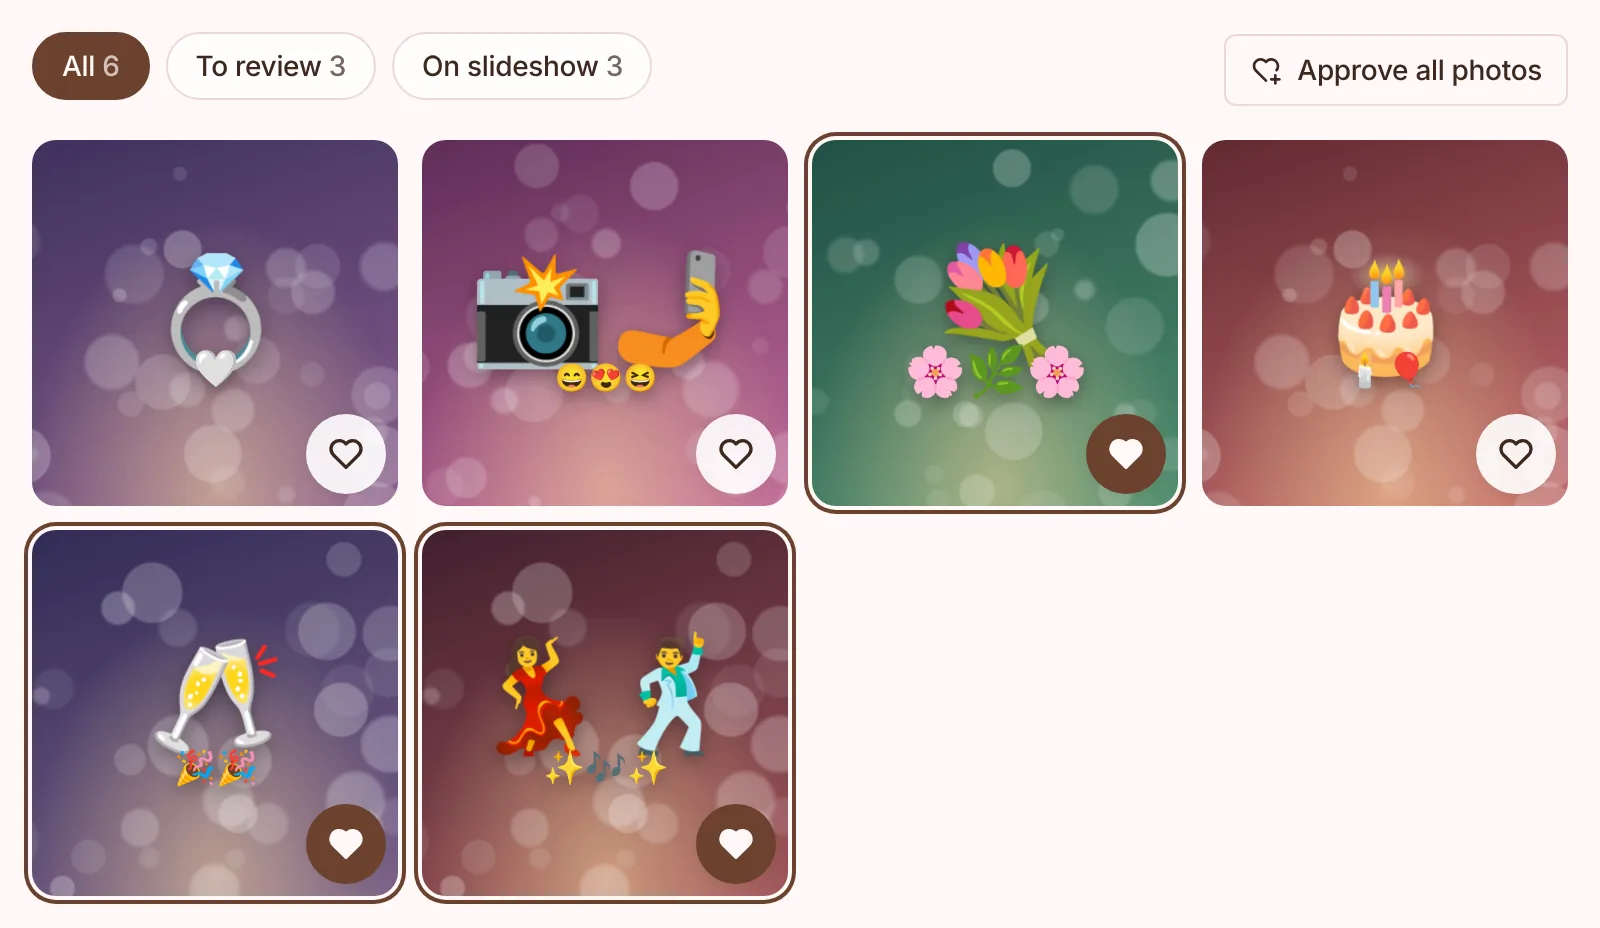
New photos appear in your event gallery as they arrive. Tap the heart to put a photo on the slideshow, or turn on auto-approve for events where you trust the crowd.
- Review from your phone during the event
- Choose how long each photo stays on screen
- Delete anything you don't want to keep
Play the live slideshow
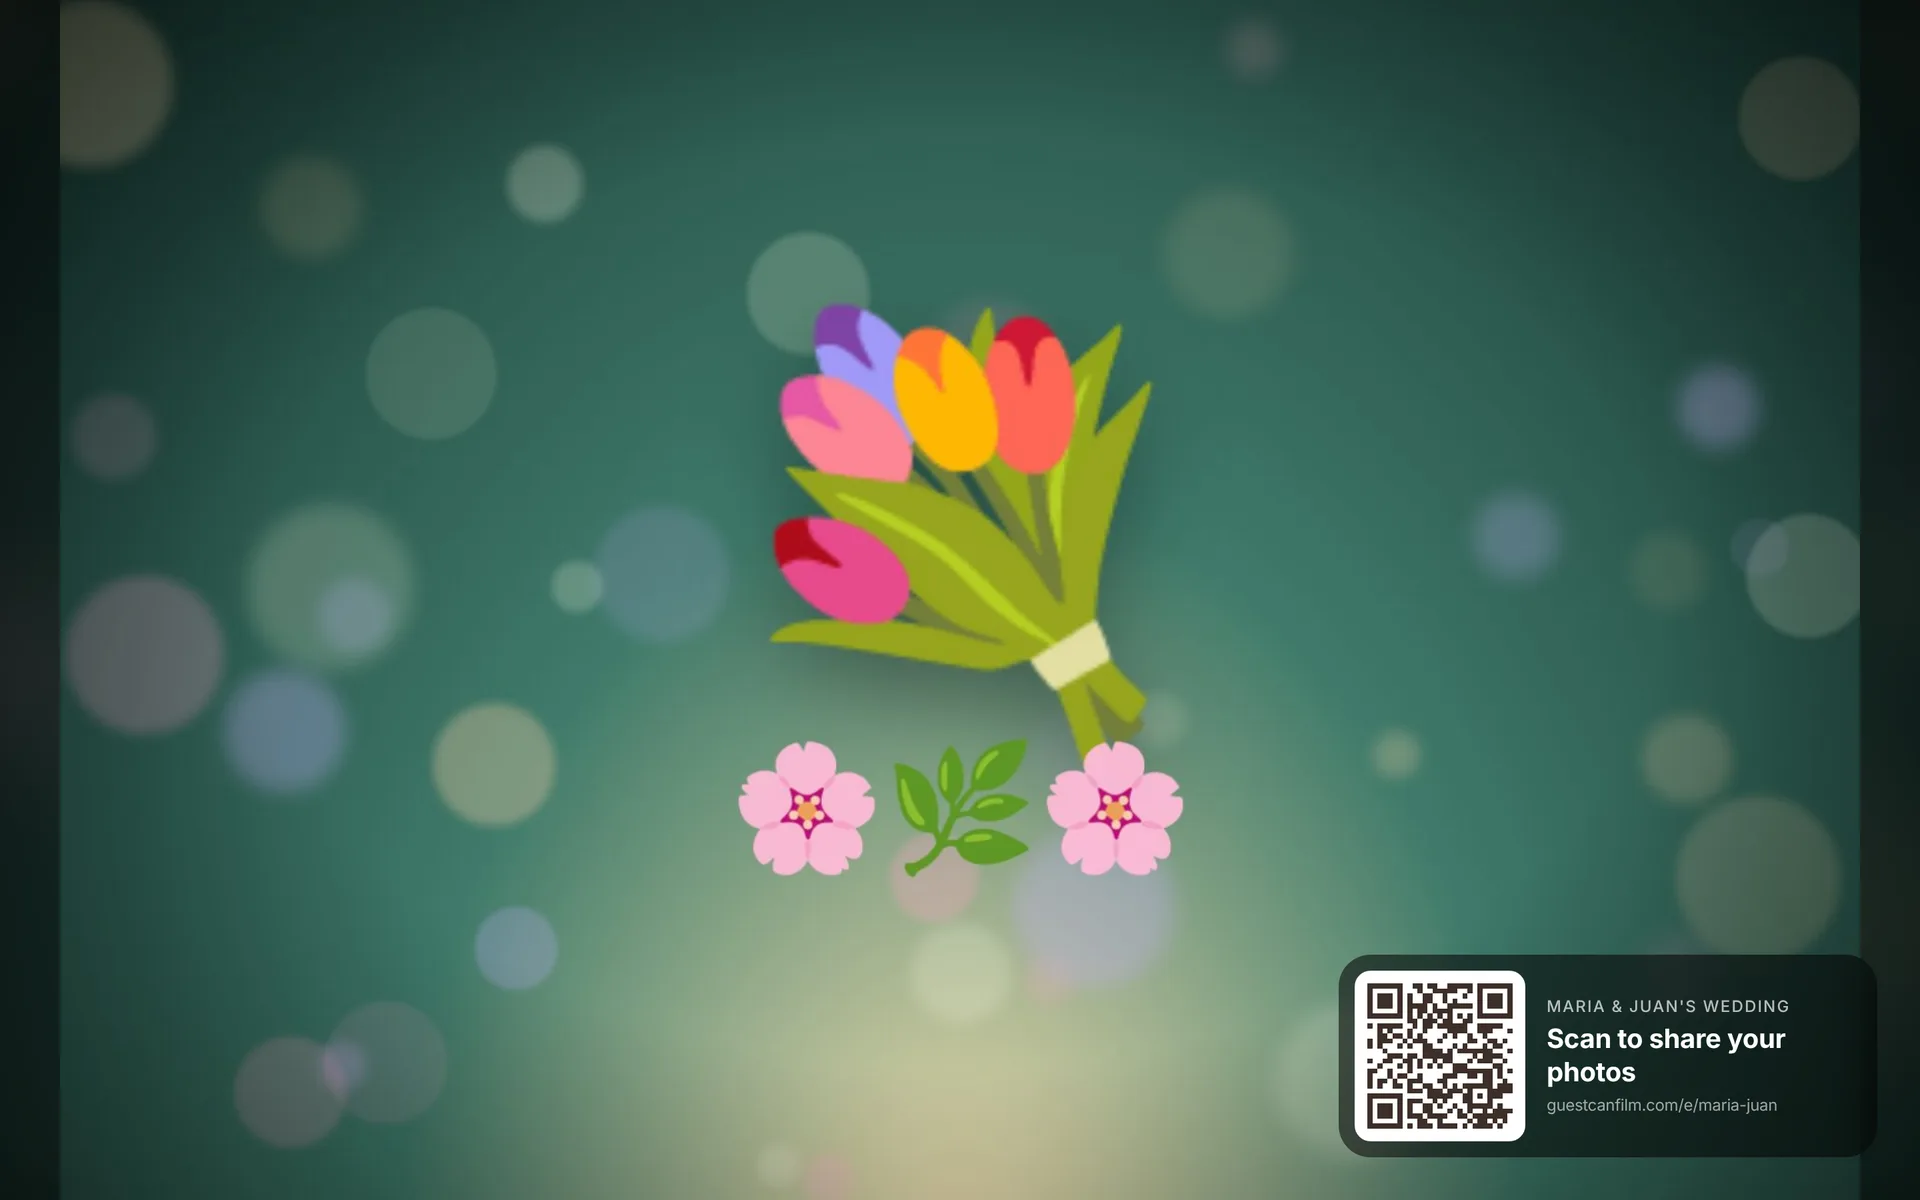
Open the slideshow link on the venue TV or projector and go full screen. Approved photos fade in one after another, and a corner QR code invites more guests to join in.
Good to know
Works on any phone
Guests use the browser they already have, on iPhone or Android.
Nothing to sign up for
Guests don't give a name, email or account. They just scan and share.
Uploads open on time
The upload page only accepts photos between the event's start and end.
Only approved photos go public
The slideshow shows the photos you picked, nothing else.
Full quality, in your storage
Originals are saved in the event's folder, ready for delivery to your client.
Updates live
Approved photos join the slideshow within seconds, no refresh needed.
Screenshots show a sample event.
Ready for your next event?
Set up your first event in a couple of minutes. Run as many client events as you like.
Set up an event